· Steve Grice · 5 min read
Django: How to Install and Run Your First Web App

Friends, we all have ideas for apps. Everyone that I’ve talked to, whether they’re interested in technology or not, has had some kind of idea for something that their phone and computer could do better, something to make their lives that much easier. Yet, getting started can be tremendously intimidating. How can we actually make it happen? Do we need degrees? Years of study? A natural gift?
I think the answer is no. Applications are can be complex and vary widely in functionality, but the fundamentals are the same. This is true whether you’re building for mobile phones, web, or even desktop.
Today, we’ll take the first step to bringing your stunning app idea to life. We’ll be working with Django, which is a Python framework used to make web apps that are fast, secure, and maintainable.
For this tutorial, I’ll do my best to assume you have little or no prior knowledge on the subject. This might make explanations lengthy, so feel free to skip through if you already feel comfortable with a topic.
What is Django?
The official Django website describes itself as “the Web framework for perfectionists with deadlines.” It’s an open-source web framework that follows the model-view-template architectural pattern.
What’s that in English? It helps you build websites.
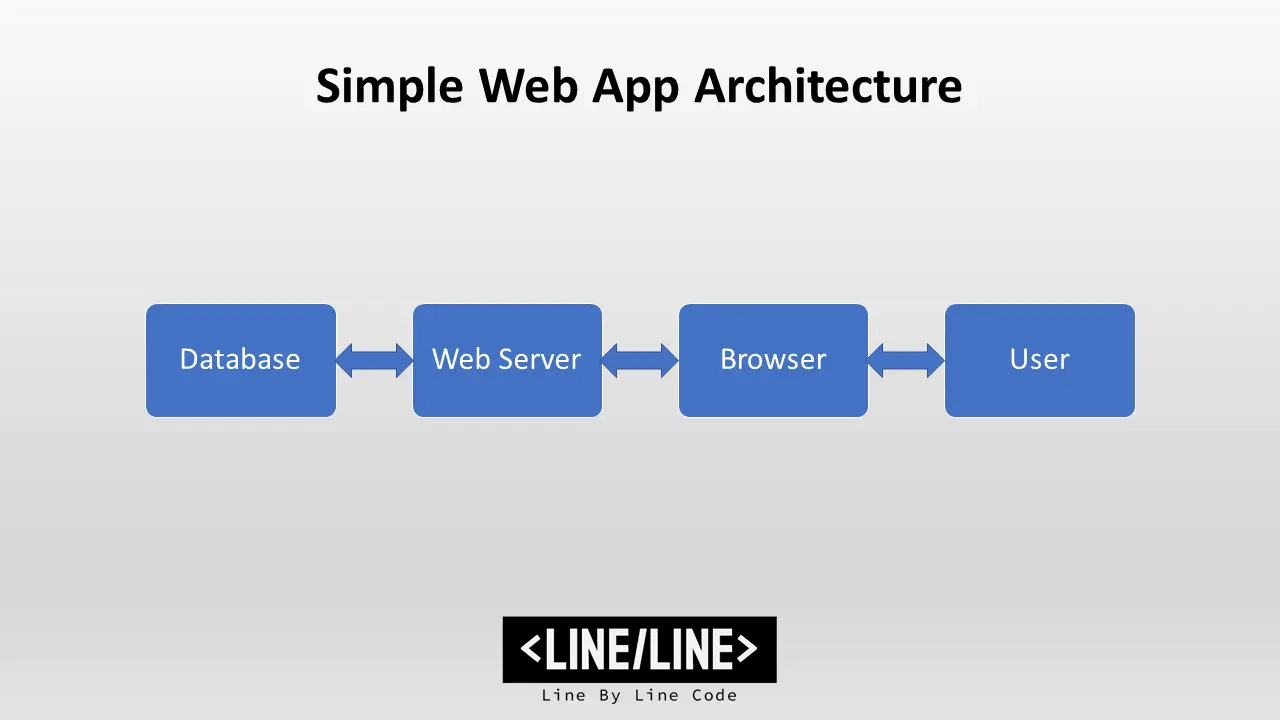
Django comes right out of the box with a ton of goodies, including a development server and a set of tools for building and testing your site from end to end. It follows a familiar high-level architecture, in which a web server is connected to a database.

Luckily, we don’t have to understand the inner workings of Django to use it. In fact, that’s the point - with the details neatly abstracted for us, we’re free to jump right in and learn as we go!
Setting Up
To get started, we will have to install some software on our computer. I’ll be walking you through installation for the following tools:
Python
Pip
Django
Later on, you may want to install a production database, such as MySQL. The built-in SQLite database is really only good for one user at a time. However, until you’re ready to publish and scale your app, it will work just fine.
Python
Everything in Django is built using the Python programming language, so we’ll definitely need to have that installed. There are two major “flavors” of Python out there: Python 2 and Python 3. Unless you have a specific reason to go with Python 2, I would recommend using Python 3 from the get-go.
If you’re a Linux user, you probably already have Python installed — just open a terminal and write python --version. If you don’t have it, or if it’s not the version you want, you’ll need to install it with a package manager. Since you’re a Linux user, I’m assuming you can figure that out, or at least Google it. :)
For Windows, we can’t rely on a beautiful package manager — we’ll have to install the binary from the web. To do this, just download Python from the website. Then, run the downloaded installer and follow the instructions onscreen.
When you’re done, you should be able to open a command prompt and write python --version. If it returns something like Python 3.5.2, you’re in good shape.
Pip
Pip is a package manager for Python. It’s what we’ll use to install Django and its many dependencies. Luckily, you probably already have it installed. Try it out by saying pip --version. If a version prints out with a link to your Python version, you’re good to go. It should look like this:
pip 19.1.1 from /path/to/binary/pip (python 3.5)
Make sure the Python version matches the one you would like to use.
If the command doesn’t work, we can just install it using Python. Run this:
$ python -m pip install pip
This should get you off and running.
Django
At last! We can finally install Django.
Now that we have pip doing our dirty work for us, installing Django is as easy as running:
$ pip install django
Check to make sure it worked:
$ django-admin --version
2.2.2
Now we’re ready to go.
Generating the Project
With Django, we don’t have to start from scratch. The basic format of the project will be generated for us by the django-admin tool.
We’ll give our project a generic name — hello_django. To generate the project, run this:
$ django-admin startproject hello_django
This creates a project folder with plenty of pre-set files for us to work from.
Let’s enter the directory and see what’s inside.
$ cd hello_django
$ du -a
0       ./hello_django/__init__.py
4       ./hello_django/settings.py
4       ./hello_django/urls.py
0       ./hello_django/wsgi.py
8       ./hello_django
4       ./manage.py
12      .
Excellent. The basics for our app are in place. We will never have to edit manage.py, but it’s going to be our best friend as we move forward. It’s this script that will run our development server, run any tests we may have, and generate new “apps.”
We’ll talk about what apps are in Django and how to use them soon. First, though, let’s make sure everything is working so far. Start your Django server and see for yourself what it looks like out of the box:
$ python manage.py runserver
...
Django version 2.2.2, using settings 'hello_django.settings'
Starting development server at http://127.0.0.1:8000/
Quit the server with CONTROL-C.
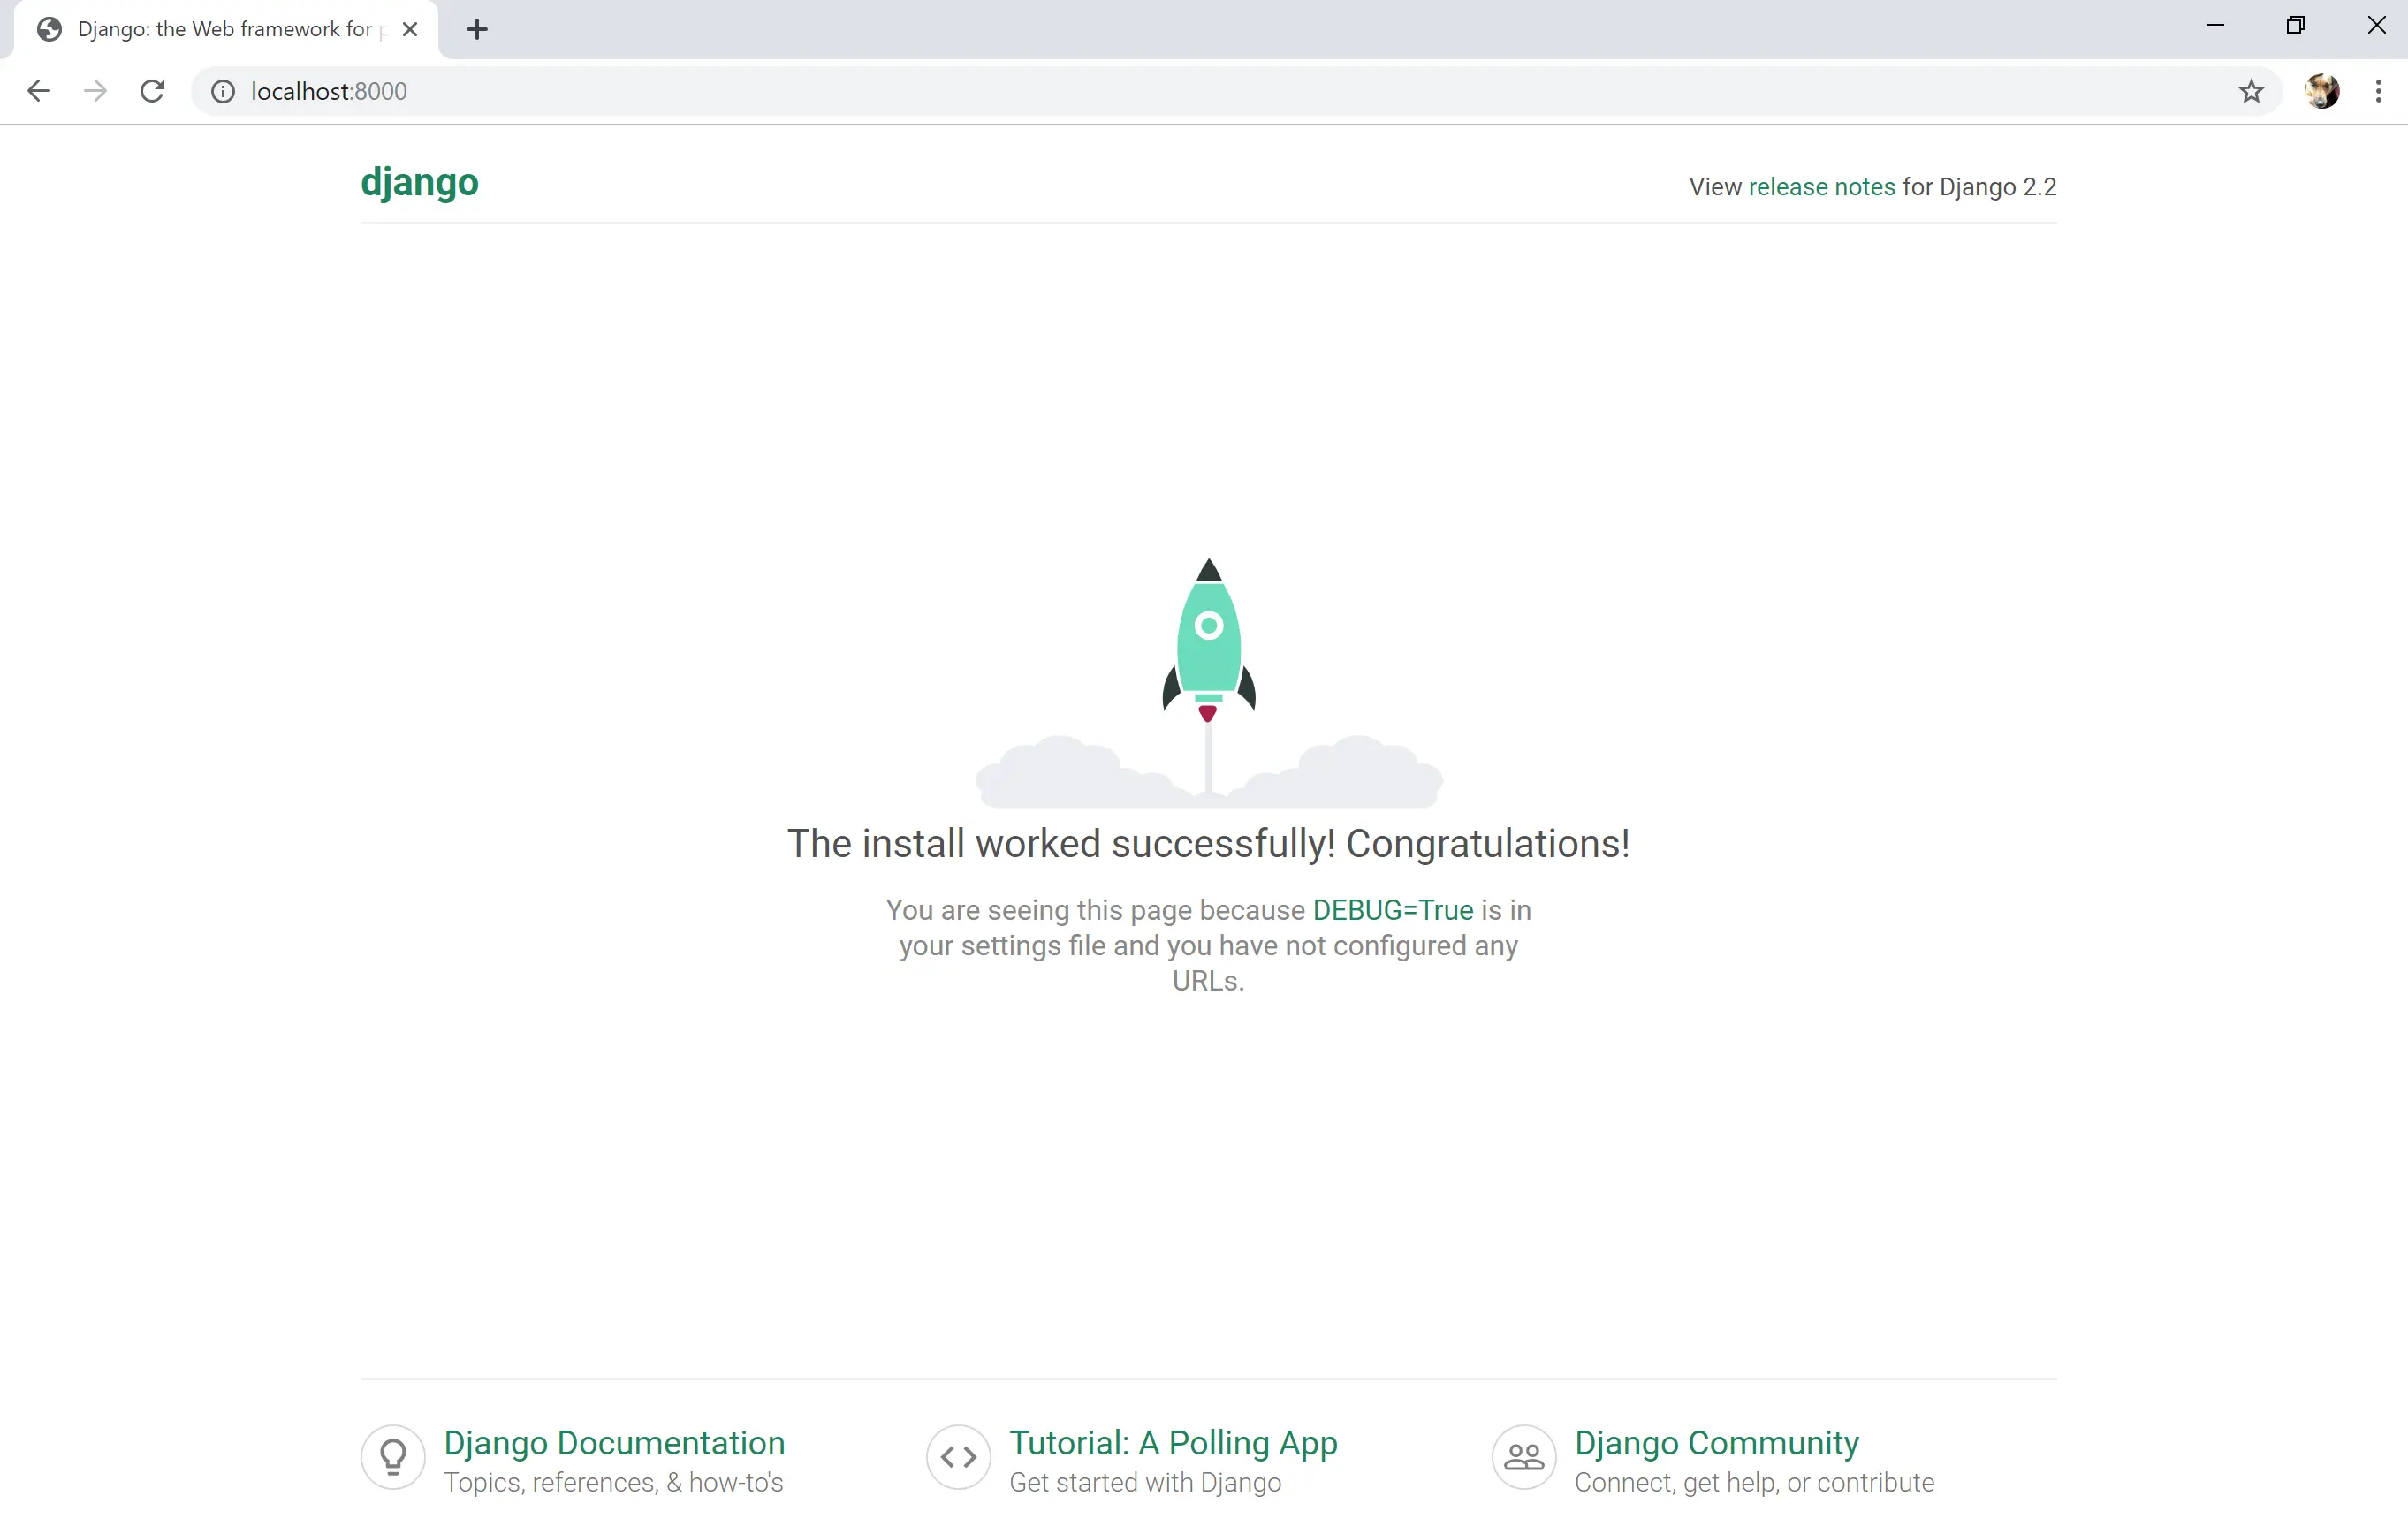
Now open up a browser and type http://localhost:8000/ into your address bar. You should see a welcome page for Django!

If you see something like the page above, you’re up and running!
In the next part of this tutorial, we’ll take a look at how to actually make things happen — we’ll generate an “app” and start linking things up with URLs.
Thanks for reading!


